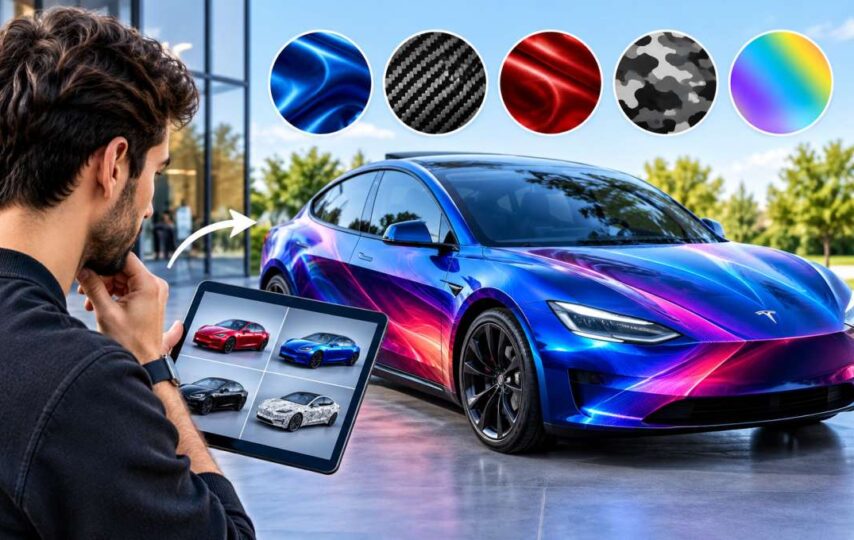

A digital wrap can look impressive in a large preview and lose its appeal when the vehicle appears smaller on a screen. Fine lettering becomes difficult to read, subtle colors blend together, or the most interesting part of the design disappears from your usual viewing angle.
Choosing a Tesla digital wrap involves more than finding an attractive thumbnail. Look for artwork that matches your vehicle template, stays recognizable across different views, and works with the Paint Shop options available on your setup.
Starting with an existing design helps you compare styles before spending time on customization. The aim is to find a strong base that needs few changes.
Start With the Correct Tesla Model
Treat the vehicle model as your first filter. A pattern positioned for a Model Y may place its main graphic awkwardly on a Model 3, even when the overall style suits both.
The template controls how a flat image maps onto the vehicle representation. A stripe that follows one model’s side profile may cross a different area on another. Lettering and emblems are especially sensitive to placement.
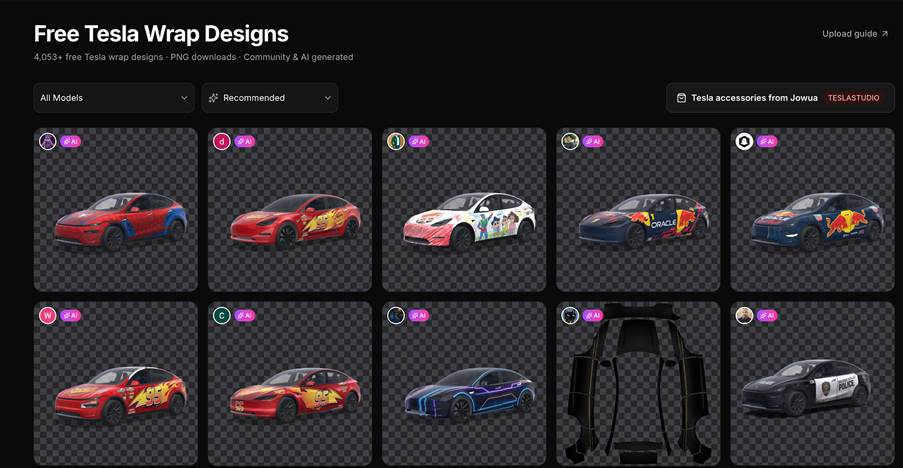
The Tesla wrap gallery on Tesla Wrap Designer brings together community-shared and AI-generated designs, each with a downloadable PNG file. Check the model labels before adding artwork to your shortlist.
Where year or version information is provided, match that too. An appealing design on the wrong template is a poor starting point.
Compare Designs at a Similar Size
A dramatic camera angle can make an ordinary design look exceptional. Compare candidates from equivalent views before deciding which one you prefer.
Start with the side profile, then examine the front and rear where previews are available. Reduce each preview to roughly the same size so a larger image does not win simply by showing more detail.
For example, a charcoal wrap with one broad orange accent may retain its identity at a small scale. An intricate illustration might become a patch of indistinct colors. Neither style is inherently better; choose based on what you want to see during everyday use.
Keep two or three candidates for closer inspection. A short, deliberate comparison is more useful than collecting dozens of thumbnails.
Decide What You Want to Notice First
A clear focal point gives the design structure. It might be a contrasting hood, a stripe along the side, or an original emblem.
Notice where your eye goes first. Is it the feature that attracted you to the design? A bright rear panel might dominate the composition even though you chose it for the artwork on the doors.
Use three questions to assess each candidate:
- Does the main shape remain clear in a small preview?
- Do the front, side, and rear look like parts of one composition?
- Is there enough contrast to separate the important elements?
Complex artwork still needs large, readable shapes. Small details work best when they reinforce that structure.
Check Text and Graphics on Both Sides
One attractive side view is not enough to approve a wrap. Examine lettering, numbers, and asymmetric graphics from the opposite side as well.
Read every word and number. Look for reversed characters, clipped edges, or a graphic divided awkwardly across the template. An emblem may look complete in a thumbnail while losing a crucial section on the model.
Inspect curved areas from more than one angle. Perspective changes how a pattern appears, so rotate the preview before concluding that the artwork is distorted.
If the same detail remains distracting across several views, choose a cleaner alternative or adjust its placement where the editor allows.
Make Small Changes Before Starting Again
A nearly suitable design often needs only one correction: less lettering, a quieter accent color, or a simpler pattern.
If a gallery entry opens in the editor, begin with the element that bothers you most. Remove or reposition text, try an alternative image, or revise the pattern, then use the 3D view to compare the result. Export a PNG once the change works across the relevant views.
Change one element at a time. Keep the original nearby so you can judge whether the revision improves the design.
AI generation is another option when none of the candidates provides a useful base. Describe the palette and arrangement you want—for example, “graphite body, broad teal side stripe, minimal markings”—rather than relying on a label such as “futuristic.”
The editor, 3D preview, and PNG export are free to use. AI generation uses credits; check the current credit requirements before requesting alternatives.
Confirm the Artwork Is Suitable to Reuse
A downloadable design does not automatically come with permission for every use. Read any conditions attached to the artwork before modifying or redistributing it.
Recognizable logos, fictional characters, and third-party illustrations deserve particular attention. Permission to download a file does not necessarily cover commercial use or sharing modified copies.
Original artwork offers a straightforward alternative. A simple pattern of your own can give the digital vehicle a distinctive appearance without relying on someone else’s visual identity.
Download and Test the Digital Wrap
Download the PNG associated with your chosen vehicle template. Give it a descriptive filename that identifies the model and design version, and retain an untouched copy.
For app transfer on a compatible setup, open Creations → Wrap → Upload in Tesla app version 4.59.0 or later. For USB transfer, save the PNG inside a folder named Wraps at the drive’s root. Transferred designs are available in the vehicle under Toybox → Paint Shop → Wraps.
Keep the exported format and dimensions intact, and follow the applicable file requirements. For further design changes, return to the editor and produce a new file.
With the vehicle stationary, apply the wrap and examine the car representation on the touchscreen. Focus on the areas you used to choose it: the main color blocks, focal graphic, and any text. Record a specific problem—such as a clipped number or misplaced stripe—before revising the file.
Understand What the Preview Does Not Show
A digital wrap changes the vehicle representation on screen. The physical paint and body panels remain unchanged.
The preview also does not demonstrate how a metallic finish, printed texture, or color would appear on real vinyl. A physical version requires separate material selection, production files, and installation planning with a qualified provider.
For this project, the in-car display is the final reference. Judge whether the artwork looks clear and appealing there.
Frequently Asked Questions
Can I use a design made for a different Tesla model?
Choose artwork labeled for your model and any relevant version. Similar vehicle shapes do not guarantee that graphics will land in the intended positions.
Do I need AI to get a digital wrap?
No. Start with suitable gallery artwork or your own images. AI is optional if you want to explore a different direction.
Why does a wrap look different after import?
Check the selected template, viewing angle, and export settings first. The in-car renderer may also present the design differently from the browser preview.
Choose for Everyday Viewing
A useful shortlist should survive three tests: the correct template, multiple viewing angles, and a realistic display size.
Choose the strongest base, make only the changes it needs, and save each revision clearly. The design that holds up on your touchscreen is the one worth keeping.
Tesla Wrap Designer is an independent tool and is not affiliated with Tesla, Inc.