Following are the steps to evaluate the quality of the marble tiles:
Step 1
To examine the backside of the marble tile, flip it over. If the back of the tile appears to be wrapped in a mesh or net, it indicates that this marble is more sensitive than others.
The mesh is constructed of a fiberglass resin that has been treated to protect the stone from cracking or fracturing. These marble tiles may not be as suited for high-traffic areas, not because they may shatter, but because they will scratch or etch more easily.
Step 2
Examine the marble’s surface by holding it at a 45-degree angle and shining a light on it. If there are little dull patches on an otherwise polished surface, the marble has likely “filled” in the microscopic holes or fissures on its surface.
Some stones, such as Thassos White marble, will only require filling in the lower grades; higher-quality stones will not require any epoxy or resin. The absence of fill distinguishes these stones.
Stones with fill that are not a suitable match for the stone’s hue or stones with a lot of fill should be avoided. The fill may fall out over time, leaving a hole in the stone that the property owner will need to replace to prevent further harm.
Step 3
Look for veins on the marble’s surface, then flip the tile over to check for cracks or fissures in the same area. Some stones, such as Crema Marfil, are extremely sensitive to fissures, and if the fracture is deep enough, the stone may crack.
Some stones have a natural predisposition to have small fissures, although this has no bearing on their quality or suitability for usage in low-traffic areas.
Step 4
Make sure you have the marble’s complete name. The quality of the stone known as Thassos AAA, for example, is higher than that of the more common Thassos. Inquire further about the marble’s hardness factor.
Even though the stone in question has a high hardness factor, the tile in question appears to have fiberglass resin, fill, or fissures, indicating that it is of inferior quality. These features may exist in a stone with a lower hardness factor, but this would have no bearing on the stone’s overall quality or how it is used.
Some On-Site Marble Quality Checking Practices
- Check that all components are the same color, size, and quality as described.
- All four sides of the marble should be machine cut, and one face should be polished.
- It should be straight and thick in appearance.
- Uneven floors are caused by non-uniform thickness, which can lead to accidents at home.
- Marble tiles must be checked for even sizes, as mismatched sizes make cutting, installing, and grouting problematic.
- There will be more material waste.
- Examine the reverse of the marble slab in addition to the front.
- Such slabs must be avoided if the back surface has wire mesh attached to it, as producers use wire mesh if the marble is delicate or soft.
- To get a sense of how it would seem after polishing.
- If you splash water over unpolished marble, it will take on a similar appearance when polished.
- If you look at the marble’s surface under a 45-degree light and see any dull surfaces or patches, it’s a sign of low quality.
- These dingy spots are caused by chips filling cracks.
- This stone is not suitable for high-traffic areas.
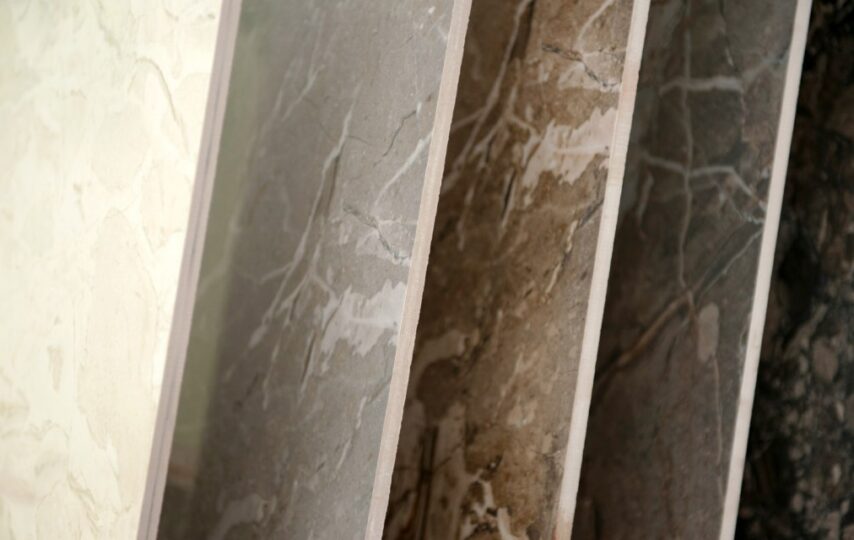
- Veins on the surface of marble should be examined at all times.
- Flip the stone over to check for fractures or fissures before purchasing.
- On the marble surface, minor cracks can be found together with the veins.
- In a low-traffic location, slabs with minor fractures can be used.
- If there are large cracks in the marble, it is not of good quality.
- Scratching the surface of marble can also reveal whether it has been treated with artificial colors.
- If the marble resists scratches, it is artificial, and the color may fade after installation.
- Scratch resistance is low in pure marble.
- Drop 3 to 4 droplets of lemon juice (citric acid) on the surface of a marble slab to assess for porosity.
At the End
Water absorption, dimensions, Mhos scale hardness, chemical resistance, specific gravity, porosity, modulus rapture, frost resistance, thermal shock, and other laboratory tests are available if you wish to examine the material quality.
In today’s worldwide marketplaces, all materials must be tested in the laboratory, especially for large projects.