The list of causes for a blurry image is extensive, although in many cases it’s the result of human error. Camera shake, subject in motion and missed focus are just some of the reasons why many perfect pictures get ruined. They become useless and recreating them wastes both time and money.
Thankfully, there are a lot of tools, both online and downloadable, which can fix blurred image. It’s important to identify the cause of the blur beforehand. This will help you choose the correct tool to get the best results possible. One of the frequently used tools for enhancing blurred images is GIMP.
What is GIMP?
GIMP is a free, feature packed image editor available for both Mac, Windows and Linux. It’s one of the biggest competitors to the paid Adobe Photoshop, with constant updates adding new options. The simple interface makes it appealing to both beginner as well as more advanced users.
Although it’s not as powerful as Photoshop, it has enough features to support many different modifications and create HD photos. Among those there are a couple of tools that can be used to sharpen up and reduce image blur.
How To Use It
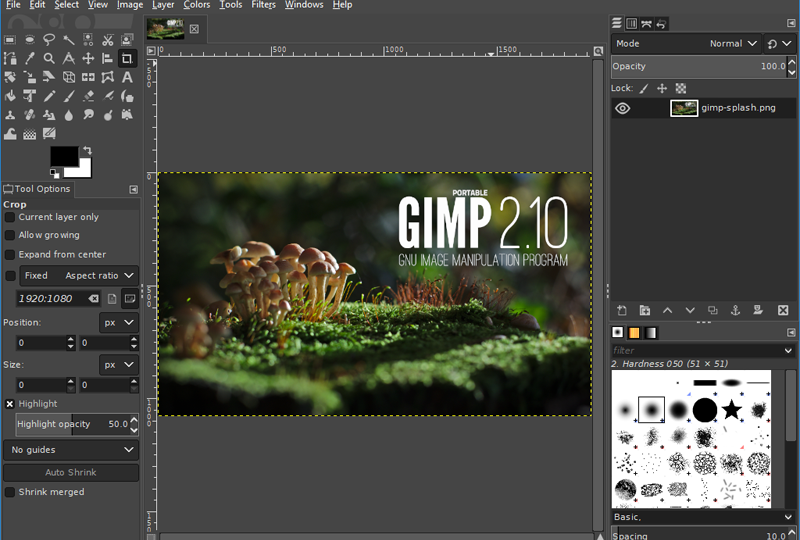
When you open GIMP, you’ll be presented with a grey interface containing the main image window, a toolbar, tool options and a menu ribbon.
– To get started, first select an image to open by clicking on the File-Open option

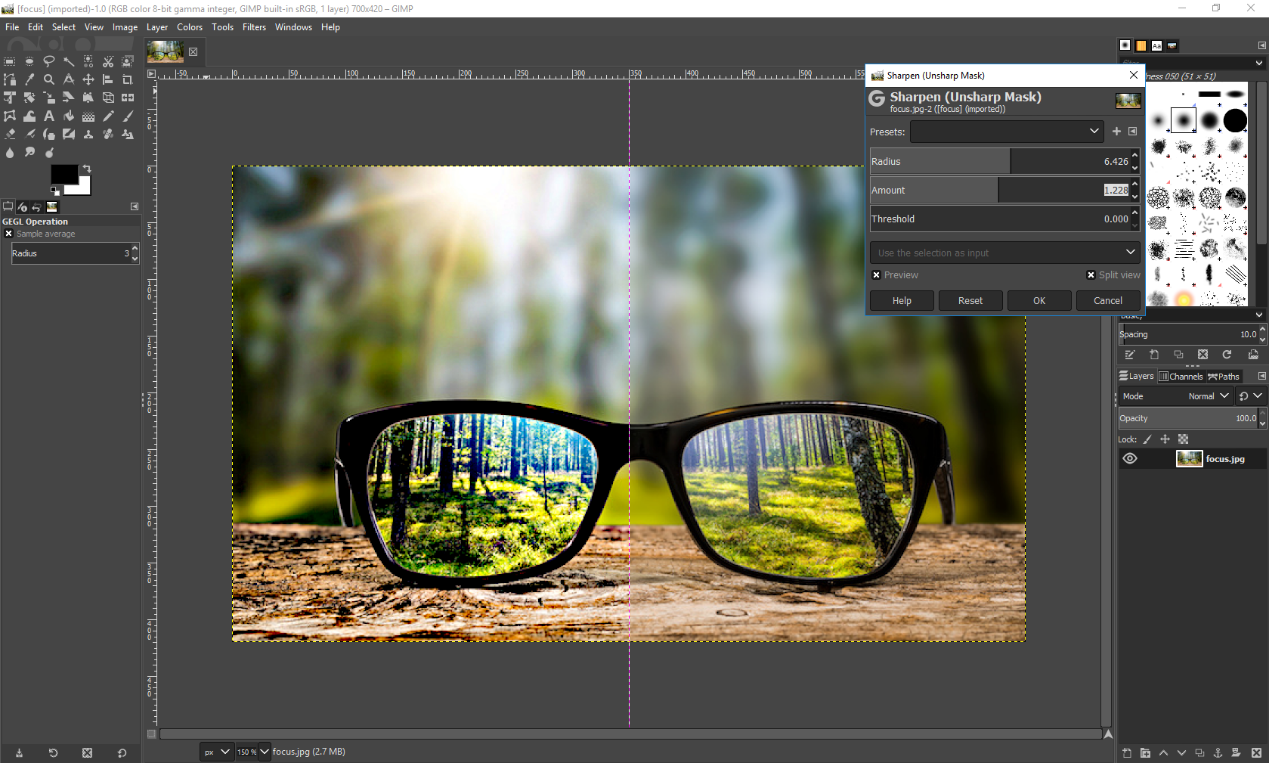
– For the main part, we will use the ‘Sharpen’ enhancement which is found in the Filters menu. This is a mask type tool – meaning that it is going to cover the whole image instead of covering user defined spots

– You will notice a menu with three different sliders to adjust to your liking. You’ll need to play with the settings a bit until you get the perfect ratio. Afterwards, you can save them as a preset for any later use.

– Checking the splitview checkbox will allow you to see the difference side by side. Once you’re satisfied, click the OK button
– If you’re unsatisfied with certain parts of the image, there’s a sharpening tool that works like a brush
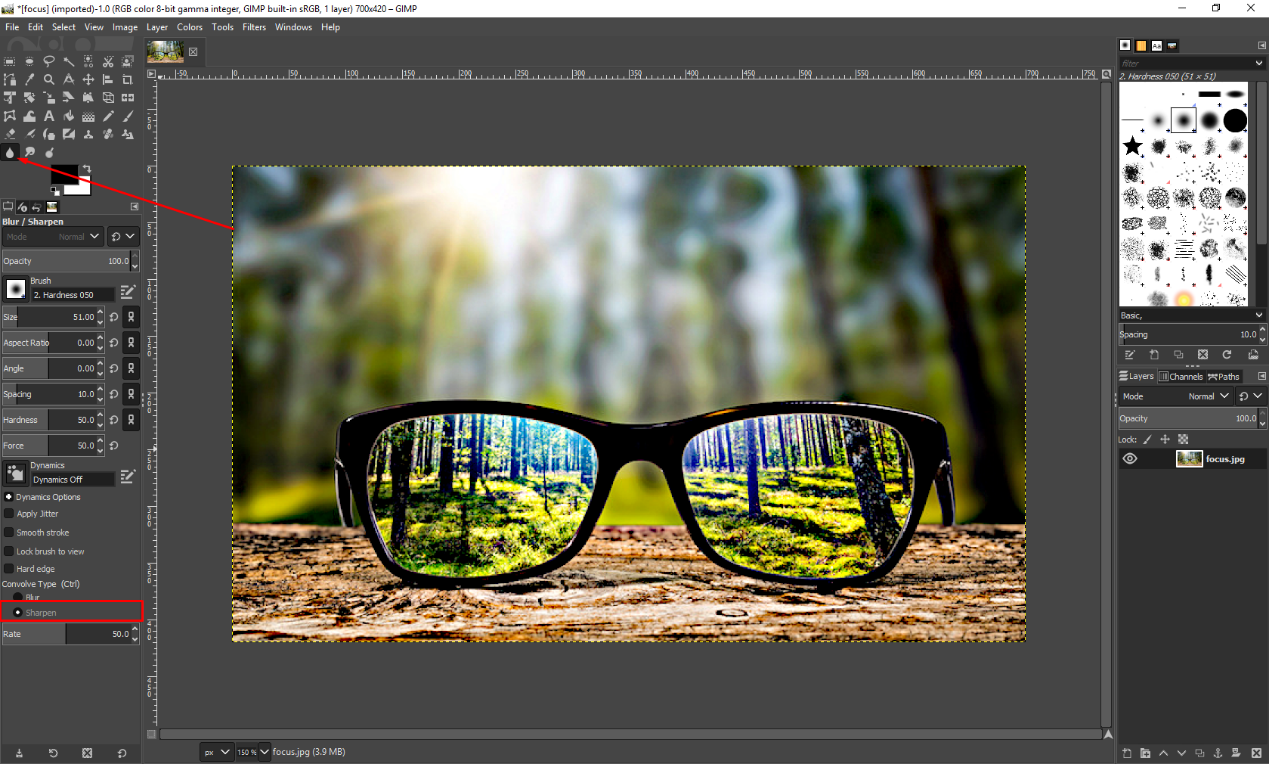
– Tick the ‘Sharpen’ radio button, play with the settings and edit the wanted parts.
It’s important to find middle ground when sharpening images. Too much can make the image look grainy, while too little is still going to appear blurry.
Using Online Tools
One of the main advantages of online tools is that they require no download. Imglarger.com can enlarge images without losing quality through the use of complex algorithms, AI and machine learning. The results are produced in a matter of seconds and can scale the image up to 4x of its original size.
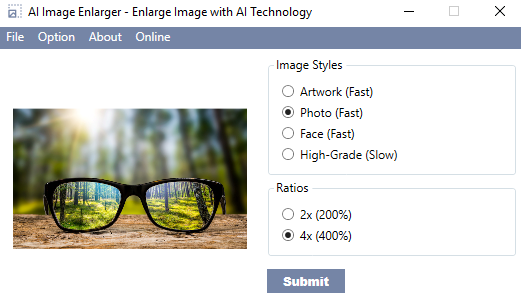
The AI Image Enlarger works in three simple steps – image upload, style selection/submission and image preview with download. Quality results are produced by teaching AI different image patterns and styles, all the while using top-notch hardware. The AI is able to find the perfect balance between sharpness and clarity.
How To Use It
As the website suggests, it’s extremely to use it.
– Upload the images you wish to enlarge.
– Select the method that you wish to use – ‘Face’ preset best works for portraits, ‘Photo’ for landscapes along with how big you want it to scale – 2x or 4x.
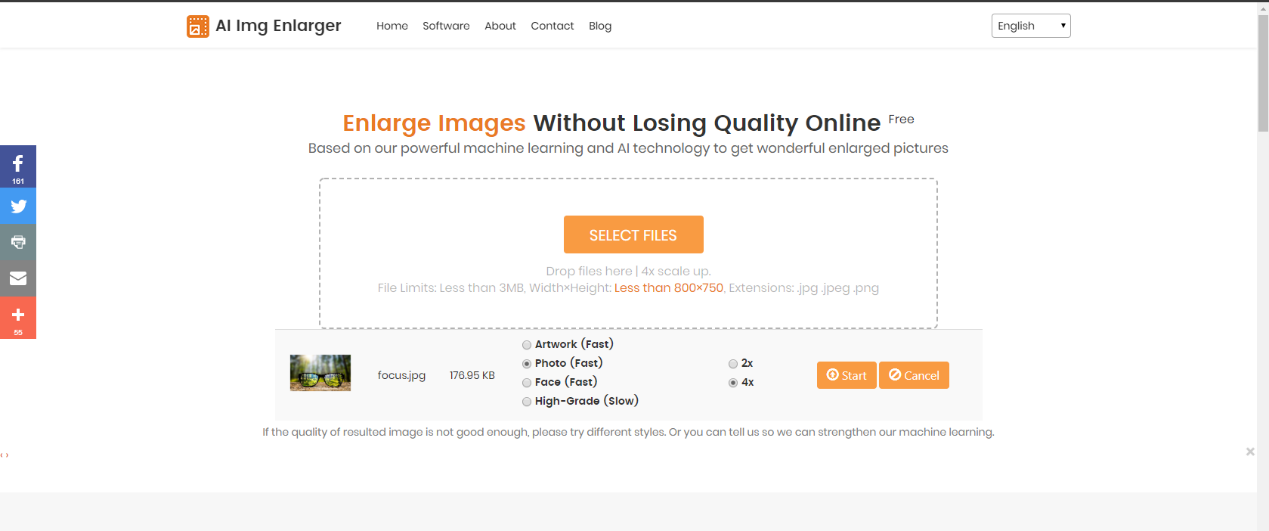
– Click on ‘Start’ button and wait for the conversion.
– Once it’s done, you’ll be able to preview the image in a new tab and download it.

Software Alternative
Along with the ability to enlarge images online, the AI Image Enlarger gives users an option to download a client for both Windows and Mac. The program is extremely lightweight, with the size of a bit more than 3MB. It uses the same algorithms as the online version without the need to open your browser.
It supports both .jpg and .png formats – the two most commonly used for images. The user drags and drops an image onto the interface, selects the wanted scale and image mode and the AI does the rest.
With GIMP, the user needs to find the perfect balance. Through the AI Image Enlarger, all the work is done by the computer as a result of thousands of analyzed images. Whichever method you choose, it’s surely going to better than leaving a blurry, unusable image.