At some point, you may want to print and display some photographs. Whether to hang on a wall, present at an exhibition or give a gift to a loved one, you want the best print quality. And, the quality of printed images entirely depends on the technology you use.
When we talk about technology, pay attention to two things – the camera and the printer you use. When buying a camera, ask yourself what you want to photograph and what’s your budget. Some of the best cameras to buy in 2021 are:
- Nikon D3500
- Canon EOS Rebel SL3 / 250D
- Olympus OM-D E-M10 Mark IV
- Sony A7R II
- Fujifilm X-T200
Whether for snapshots or for bold art prints, these budget cameras provide the quality you deserve.
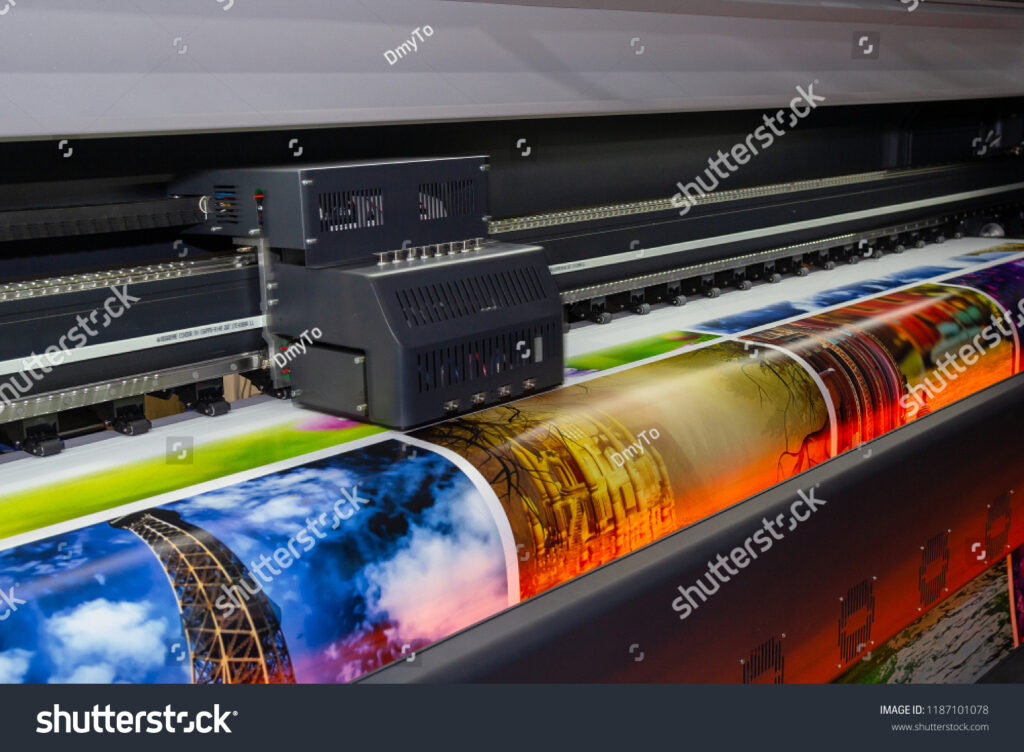
Though many home and office all-in-one printers print excellent photos, snapshot and near-dedicated photo printers are made especially for printing photos. Some recommended printers in this category are Canon imagePrograf PRO-1000, Epson SureColor P900 17-Inch photo printer, and HP Sprocket Select.
When buying a photo printer, prefer quality over speed. Note that even the slowest printers today deliver tolerable print speeds.
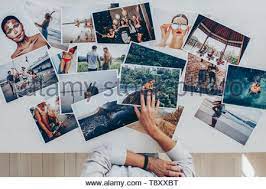
Printed photos are a great way to store your favorite images permanently. You can keep photo prints in albums or frame and mount larger prints on your walls. So, make sure you use the best technology to get quality like ElephantStock prints.
Important Advice for Photographers
Whether you are a beginner or more experienced with photography, here are some of our favorite tips that will help you improve your photography!
Good photo prints start with the photoshoot. Whether you’re a beginner or a seasoned photographer, here’re some great pieces of advice you can follow:
- Rule of Thirds
To use this competition secret, imagine four lines – two vertical and two horizontal across the image. This should create nine even squares.
Most images look good with the focal point in the centre square. However, off-centre focus on an intersecting point can result in even more aesthetically composed pictures. Photographs composed using this rule of thirds look impressive when framed.
- The Exposure Triangle
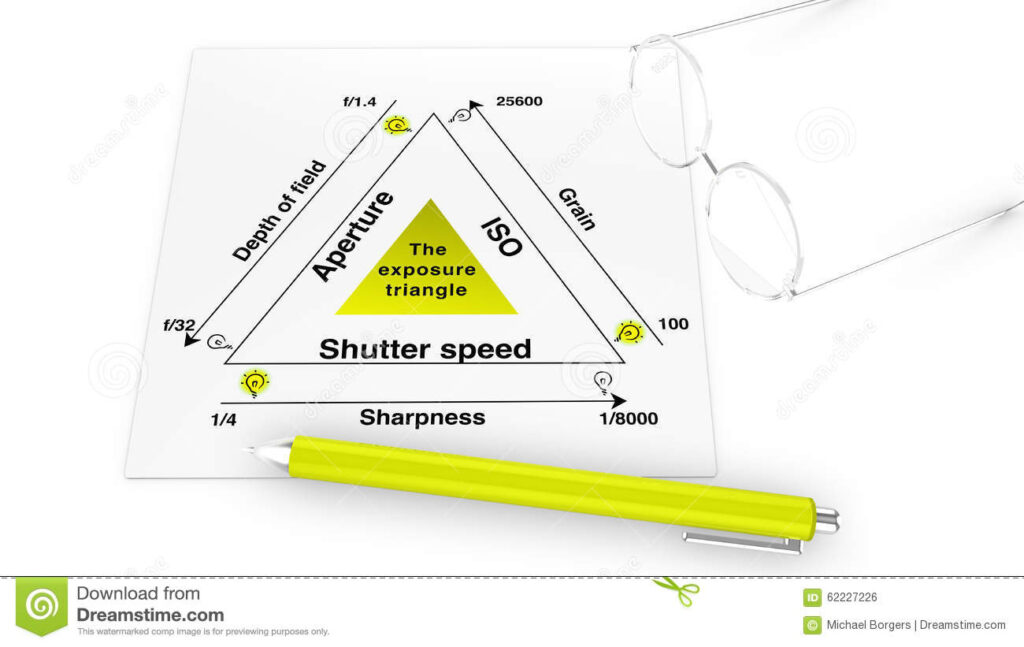
Understand the relationship between three basics – Shutter Speed, Aperture and ISO. When you adjust one of these factors, you’ve to set at least one of the others to yield expected results. Learn to use Shutter-priority or Aperture-priority modes, and then shoot in Manual mode
- Circular Polarizing Filter
Using this filter, you can reduce reflections from metal, glass, and water. You can enhance the colors of the foliage and sky, giving your photos the wow factor.
- Use the Right ISO
ISO determines the sensitivity of your camera to light and the fineness of your images. Choose ISO based on the situation – push it to a high on the scale in the dark to avoid blurring. Choose ISO near 100 or the auto setting when you’re shooting outdoors on sunny days.
How to Prepare Images for Printing [Important Tips]

Once you’ve clicked the photographs, it’s time to prepare them for printing. To make sure your images look just as good as their online version, follow these simple tips:
- Save photos as 8-bit
Edit your images as a 16-bit file but save them for printing as an 8-bit file. Most printers cannot print 16-bit files and automatically switch to 8-bit. So, when you save an image as 8-bit files, it becomes smaller in size and quicker to be processed on a photo printer.
- Choose correct dpi
Dpi (dots per inch) is the amount of dots printed per inch. More dots mean more detailing. As recommended, save your photographs at 300 dpi when printing. Lower dpi might work with smaller prints, but you’ll lose detail in larger prints.
- Soft Proofing
Use Adobe Lightroom and Photoshop to visualize what the printed photo will look like. When soft proofing, you can choose between different printers and color spaces. Choose the best printer and color space, adjust the saturation, sharpness and color balance until your photo print resembles the original version.
- Sharpen the Image
Once you’ve cropped images to the desired size, sharpen them. The print medium affects how much sharpening an image needs:
- Canvas: Pictures that aren’t razor-sharp may also print well on this forgiving material.
- Aluminum prints: Crisper and more detailed. So, over-sharpening is more obvious.
- Traditional paper prints on an inkjet printer: Consider the paper type when sharpening the image.
Final Words
Outsourcing custom photo prints make sense if you lack enough skills and/or time to learn them. It might take a few attempts and research before you find the best service provider that satisfies your needs.