Organizing and managing photos on your iPhone can be a daunting task, especially if you take a lot of pictures. With the constant flow of photos coming in, it’s easy to end up with a disorganized camera roll that makes it difficult to find specific pictures or even share them with others.
In this article, we’ll explore different ways to organize and manage your photos on your iPhone, so you can make the most out of your device’s camera and capture memories that last a lifetime.
Tips to Organize Photos on iPhone:
I. Delete Unwanted Photos
The first step in organizing your photos is to delete any unwanted ones. To do this, follow these steps:
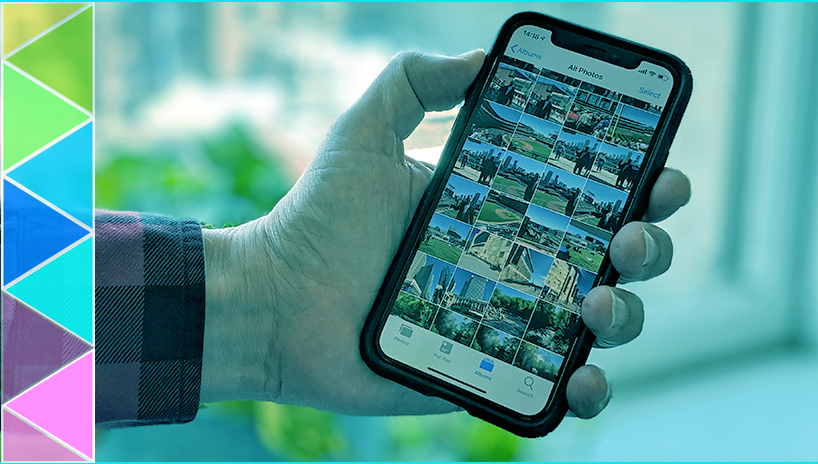
- Open the Photos app on your iPhone.
- Select the photo(s) you want to delete.
- Tap the trash can icon in the bottom right corner.
- Confirm that you want to delete the photo(s) by tapping Delete.
Deleting unwanted photos will help you declutter your camera roll and make it easier to find the pictures you want. You can sehow to article to select multiple photos at once and clear them.
II. Create Albums
Creating albums is a great way to keep your photos organized. You can create albums for specific events, people, or places, making it easy to find pictures when you need them. To create an album, follow these steps:
- Open the Photos app on your iPhone.
- Tap on the “Albums” tab at the bottom of the screen.
- Tap the plus icon in the top left corner.
- Give your album a name.
- Select the photos you want to add to the album.
- Tap “Done.”
You can also add or remove photos from an album at any time by tapping on the album and selecting the photos you want to add or remove.
III. Use Smart Albums
Smart Albums are automatically generated albums that are created based on specific criteria, such as location, date, or even the people in the photos. To create a Smart Album, follow these steps:
- Open the Photos app on your iPhone.
- Tap on the “Albums” tab at the bottom of the screen.
- Tap the plus icon in the top left corner.
- Select “Smart Album.”
- Choose the criteria you want to use to create the album.
- Tap “Done.”
Smart Albums are a great way to quickly find pictures without having to manually sort through all of your photos.
IV. Use Tags
Tags are a great way to add additional information to your photos. You can use tags to identify people, places, or events in your photos, making it easier to find them later. To add a tag to a photo, follow these steps:
- Open the Photos app on your iPhone.
- Select the photo you want to add a tag to.
- Tap on the “Info” icon in the bottom left corner.
- Scroll down to the “Tags” section and tap “Add a Tag.”
- Enter the tag you want to use.
- Tap “Done.”
Once you’ve added tags to your photos, you can easily search for them by using the search bar at the top of the screen.
V. Use iCloud Photos
iCloud Photos is a great way to keep your photos organized and accessible across all of your Apple devices. When you turn on iCloud Photos, all of your photos and videos are automatically uploaded to iCloud and are accessible from any device that is signed in to your iCloud account. To turn on iCloud Photos, follow these steps:
- Open the Settings app on your iPhone.
- Tap on your name at the top of the screen.
- Tap “iCloud.”
- Tap “Photos.”
- Toggle on “iCloud Photos.”
With iCloud Photos, you can create shared albums with your friends and family, so they can see your photos and even add.
More such iPhone related tips and tricks are published on Go through it for more insightful information.