This covid-19 pandemic has forced us all into self quarantine. This time can be hard. Most of us are spending it by watching movies, baking, learning new recipes and listening to music. New music is being released every day and we are all excited to just lie in our beds and couches and listen to peaceful music for hours on end.
For all the iPhone users, you have two options to listen to your favourite playlist- using your wired earphones or the new Airpods. Airpods are the absolute trend right now.
Airpods are essentially wireless earbuds that operate on Bluetooth. They were created by Apple in 2016. The new generation of Airpods were released in 2019 and are just the perfect little pieces of heaven. They are in great demand and the coolest accessory to be pictured in.
Not only do they play music and other audio, they can be used in calls also. They have a built in microphone, which has been designed to filter out background noise. Siri is also accessible via Airpods. You can pause and play audio, accept and end calls, all without using your hands. If you’re having any other problems with your Laptop you can visit hp laptop service center in pune to fix your Laptop.
Airpods can be charged through their cases. The charging case provides a battery life of 24 hours of uninterrupted usage. You can recharge the batteries by just storing your airpods in the charging case and plugging in your iphone charger into the case.
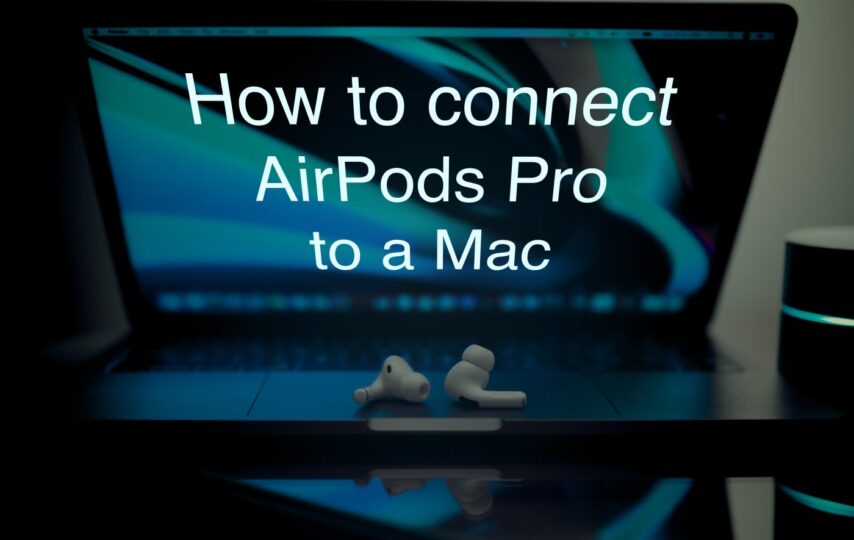
Airpods are the easiest to connect with your iPhones. But they also connect to your Apple laptops such as MacBook and MacBook Pro.
CONNECTING YOUR AIRPODS TO YOUR IPHONE
If your Airpods are brand new and just off the market, try to connect them to your iPhone first. This automatically links the Airpods to your apple ID , making it convenient for the future. Here’s how to pair them with your iPhone:
- Unlock your iPhone
- Ensure that your Airpods are in the charging case and in close proximity of the iPhone
- Open the lid of the case
- Switch on the bluetooth of your iPhone and go to advanced bluetooth settings.
- Wait for the iPhone to recognize the Airpods
- You will be shown a brief set of instructions on your iPhone screen
- Follow these steps to link the Airpods to your Apple ID
To connect the Airpods to your MacBook Pro, ensure that your laptop is logged into the same Apple ID as your iPhone that was used to pair the Airpods. In this scenario, the AirPods will automatically show up in the speaker menu/list on your laptop. To connect, click on the speaker icon in the menu bar of your MacBook Pro, and choose the AirPods from the list of devices available. This is what happens most of the time.
WHEN IT DOESN’T WORK
Sometimes, you may be using a different Apple ID on your MacBook Pro. In this scenario, you may be unable to see your AirPods’s name in the list of devices available.
To solve this issue, you could set up a new bluetooth connection with the AirPods. You can do this in two ways.
- Click on the Bluetooth icon in your laptop’s menubar. After the settings are displayed, click on “Open Bluetooth Preferences”, or you could navigate to “System Preferences” and choose “Bluetooth”
- If that isn’t viable for you, you could use Bartender 3 to display the Bluetooth icon. This is a little more complicated that the system preferences route, but it will get the job done.
HOW TO CONNECT YOUR AIRPODS DIRECTLY TO YOUR MACBOOK PRO:
- After ensuring that your AirPods are in the case, open the lid.
- Locate a small white button right above the charging port. It is located at the back of the case.
- This is the setup button.
- Press and hold this button until the small point light located inside the case flashes white.
- On your MacBook Pro, navigate to Apple Menu > System Preferences> Bluetooth
- You will see an option that says “AirPods”
- Select that option and click on “Connect”
- If your AirPods support the particular version of MacBook Pro, click on “Enable” and say “hey Siri”. This enables you to start using Siri with your AirPods.
- You can also improve Siri and Dictation. You will be automatically asked if you want to do so.
- When asked, do one of the following:
○ Share audio recordings: Click on “Share Audio Recordings” . This allows Apple to store audio of your Siri and dictation interactions from your Mac. Apple may review a sample of stored audio.
○ Don’t share audio recordings: Click on “Not Now”.
- If you wish to share or stop sharing audio recordings, select or deselect the “Improve Siri and Dictation” option .
- You can do so in the “Analytics & Improvements” section of your MacBook Pro’s Privacy preferences
WHY CONNECT TO AN IPHONE BEFORE CONNECTING TO OTHER DEVICES?
The main reason you should connect to an iPhone before connecting to other devices first is because, when the Airpods is used in pair with other devices, it becomes hard for the iPhone to recognize it the next time. The iPhone may not automatically recognize it and delay the pairing process. In some scenarios, You may need to reset the AirPods.
How to reset your AirPods?
- Locate the set up/ reset button at the back of the case. It is small and white in color.
- Ensure that the AirPods are in the case and close the lid.
- After 30 seconds, open the lid
- With the lid open, press and hold the reset button.
- The charging light inside the case should be within your eyesight.
- After a few seconds, the light will start to turn to an amber colour of sorts.
- As soon as that happens, hold the case close to your iPhone.
- Your AirPods have been reset.