There are different digital modes through which the information can be conveyed. It can be an article, a text message, a PowerPoint presentation, or a video. These days the PowerPoint presentations are increasingly used to convey important information systematically. Along with the PowerPoint presentations, there is also a need for the voiceover to explain the different slides of the presentation. It is for this reason that today explanatory videos are made, in which, the power-point presentations are recorded with a voice. Hence there is a great importance of tools, which helps in PowerPoint screen recording and providing an appropriate voiceover in the background.
Based on a study, approximately 35 million PowerPoint presentations are made and delivered daily for different categories such as sales, business promotions, tutorial, training, demo of products, education etc.
Methods to Record PowerPoint Presentation
As we have seen above, important information can be conveyed by recording the PowerPoint presentations and adding a voiceover in the background. Different methods can be used to record the PPT and make a video. Some of the available methods are described below:
- Using the PowerPoint Itself
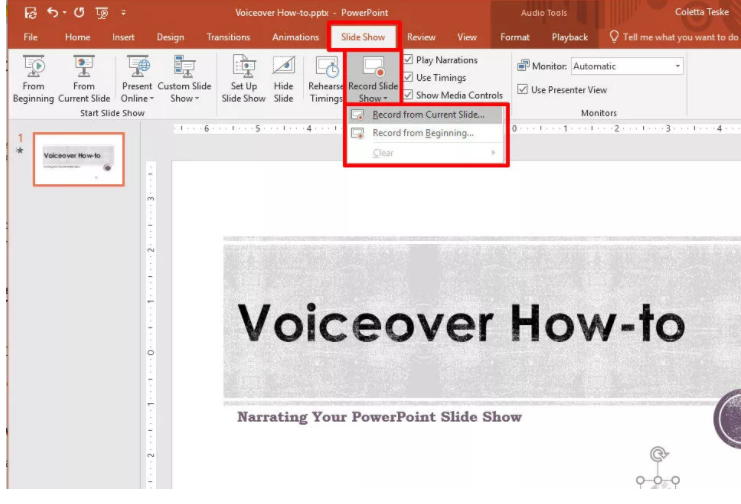
When you want to have a video of a PPT and an appropriate narration in the background, the same can be done in the PowerPoint application itself. You can speak the narration by the use of a microphone and record it with the options available. Depending on the content of the slides you can speak and have a narration. You can set up the timings of each slide depending on the length of your narration.
- Using a Screen Recorder
A screen recorder can be used to make videos with PPTs and active narration. The screen recorders can capture your screen and also record the voice. You can record the screen to capture the PPT slides and also record the narration by speaking through the microphone. Effective videos can be made by the use of these available screen recorders.
- Recording Using the Windows System Tools
Along with the methods mentioned above, you can also use the Windows System tools to record the videos.Press the Windows key + G to open the Game Bar dialog. The tool has functions that can record the screens as well as the voice to form an effective and informative video. If you are using a Mac system, you can use QuickTime Playerto record the PowerPoint video.
Step by Step Process to Record PPT Videos with DemoCreator
DemoCreator is professional screen recording software, which can be used to record the screen, add the voiceover and make effective and stylish PPT videos. You can use the DemoCreator tool for number of applications including creating Training videos, creating video tutorials and recording games. This particular software is endowed with many important features like:
- Highly interactive dashboard and interface to record the PPT videos.
- Very easy to record the PPT videos in a professional style.
- Interactive tools for editing the recorded videos.
- Powerful Annotation tools are available as well to describe your videos.
- Different types of effects can be added to the videos.
- Along with capturing the computer screen, you can also record the Webcam sessions.
- You can save your video in different formats.
Let’s have a look at the step-by-step process to record videos with this tool.
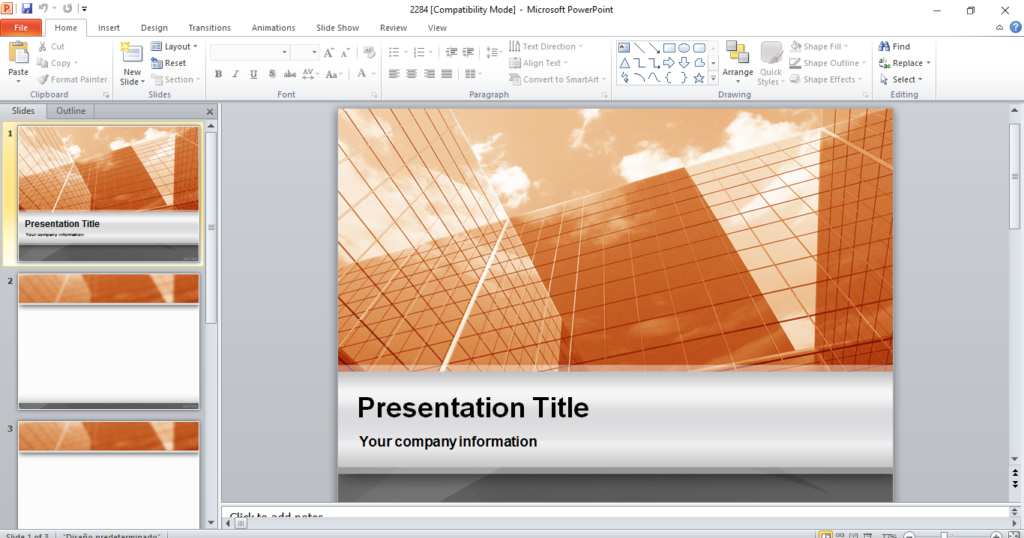
Step 1.Prepare the Slides and Voiceover Points
The first step in making the recorded video with DemoCretaor is to make your presentation slides ready. You should also note down the points that you want to narrate at the time of recording.
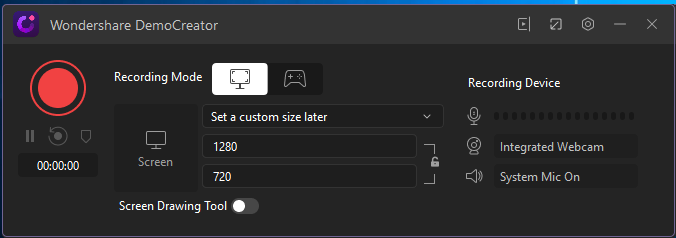
Step 2.Select the Audio and Video sources
The DemoCreator Software is equipped with the functionality to detect all the external audio as well as video sources through which recording can be done. The microphone andwebcam connected through the USB is automatically identified and can be selected for Video recording.
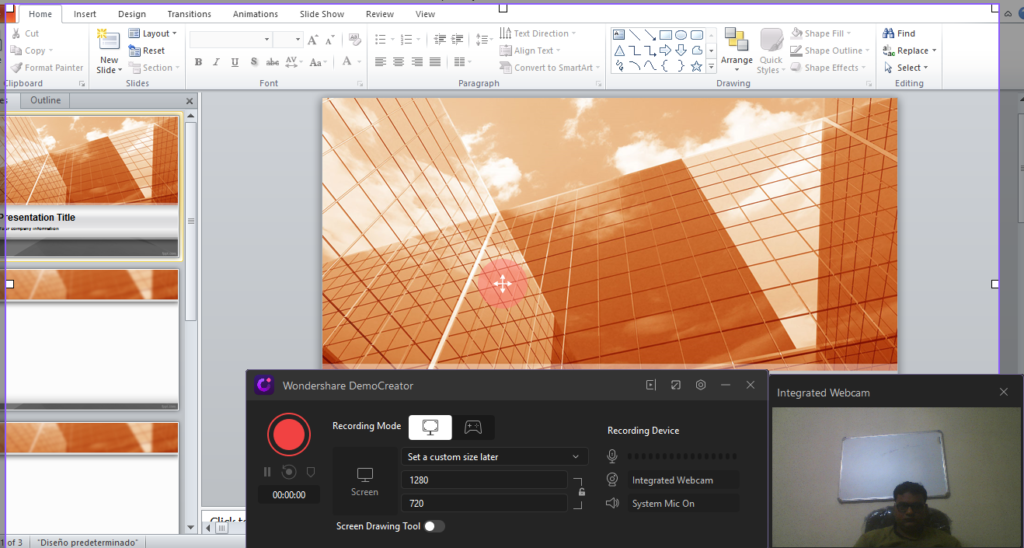
Step 3.Open the PowerPoint Presentation and Capture the Screen
After the audio/video sources are identified, you should open your PPT on the screen and start capturing the slides. When you are capturing the screen you will be given the option whether you want to capture a particular frame or complete screen. Depending on your preferences you can capture the screen.
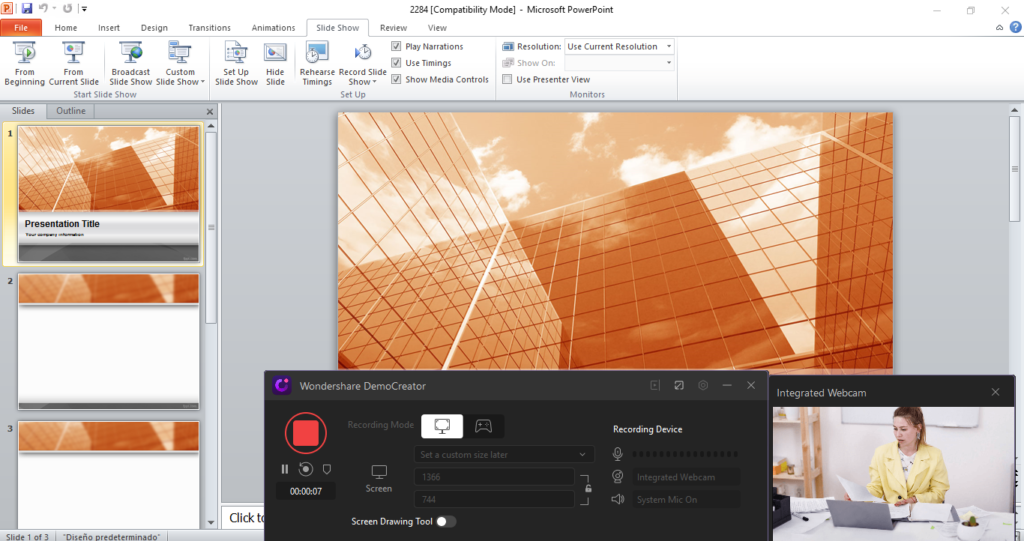
Step 4.Press the Record Button and Start Presenting
When everything is ready, you should press the record button and start presenting using the audio source. While presenting, you can use interactive tools like screen drawing tools so that you can effectively explain the concept. This step will help you to record the video and compile the final video file.
Step 5.Export the Video
After the above steps are completed your video file is ready. You will enter to the edit interface and you can export it to video publishing platform YouTube or your local hard drive. To export click on the “Export” button at the top right side and then you can choose where you want to save the video.

Conclusion
We have seen that more and more PowerPoint presentations are delivered, every day. In this age of digital advancement, video conferencing apps are also being used to deliver different presentations. An alternative to delivering the live presentation through the Video Conferencing apps like Zoom, Webex is to record the presentation and then share it with your audience. However, it is important here that the presentation made is of high quality and is made using some professional tool like DemoCreator. With the use of this tool, you can have quality presentations with recorded voiceover in the background. These presentations can have a great deal of impact on your audience if they are crafted professionally.