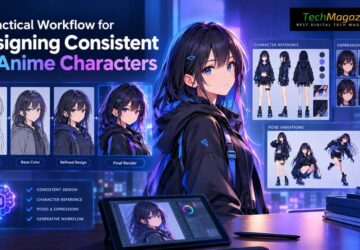
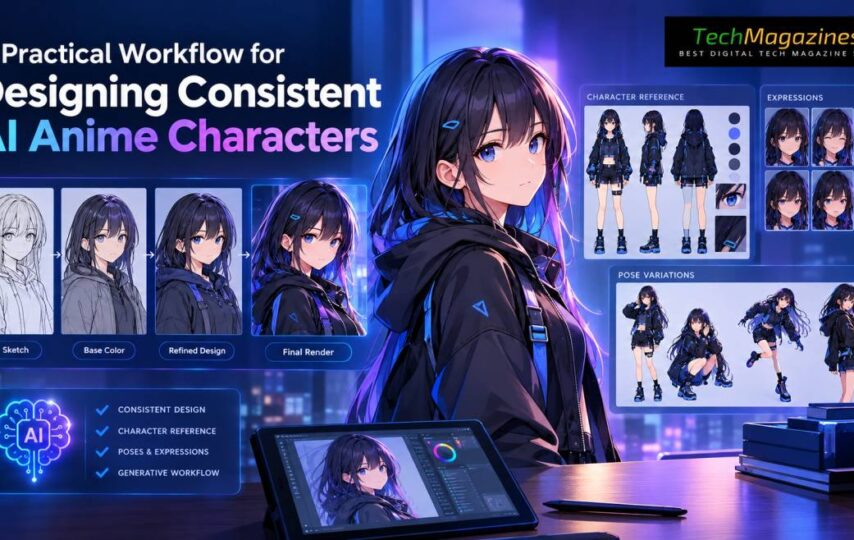

Creating a single attractive anime image is relatively easy. Creating the same character across ten images is a much more technical problem.
I learned this while building character references for different scenes. The first portrait looked strong, but the face changed when I requested a side view. A jacket gained extra straps in an action pose. The character appeared several years younger when I changed the lighting.
I now treat AI character creation as a structured design workflow. I may use ocmaker.ai to generate the initial concept, but I do not continue until I have separated the details that must remain fixed from the details that are allowed to change.
That simple step has improved consistency more than adding longer prompts.
Build a Character Specification
Before generating a reference image, I create a compact specification. I do not write a complete biography. I focus on information that affects the visual output.
My usual fields include:
- apparent age;
- face shape;
- eye shape and color;
- hairstyle and length;
- body proportions;
- outfit silhouette;
- main colors;
- materials;
- signature accessory;
- default expression;
- posture.
I try to use observable descriptions. “Confident” can be interpreted in many ways, while “upright posture, relaxed shoulders, direct gaze” gives the image model clearer instructions.
The same principle applies to clothing. “Fantasy outfit” is too broad. “Short dark-green travel cloak, cream linen shirt, fitted brown trousers, worn leather satchel” is easier to reproduce.
Separate Fixed and Variable Fields
I divide the specification into two groups.
| Fixed fields | Variable fields |
| Face shape | Pose |
| Hair design | Facial expression |
| Eye color | Background |
| Body proportions | Camera angle |
| Main outfit | Lighting |
| Signature object | Secondary accessories |
| Core palette | Weather and season |
This keeps me from accidentally redesigning the character every time I create a new scene.
The fixed block remains almost unchanged. I add a smaller variable block for the new image. If I need the character running through a market, I change the pose, setting, camera, and expression without rewriting the identity.
Use a Reusable Prompt Architecture
The prompt structure I use is:
Character identity + physical appearance + outfit + signature detail + pose + expression + environment + camera + lighting
A typical working prompt might read:
A 22-year-old forest courier with a narrow oval face, short copper hair, green-gray eyes, and a small scar under the left eyebrow. She wears a dark-green travel cloak over a cream linen shirt, fitted brown trousers, and a worn leather satchel. Full-body walking pose, alert expression, forest road, eye-level camera, soft overcast daylight.
I keep negative instructions short. A long list of exclusions can compete with the main description. I usually mention only the problems I repeatedly see, such as extra accessories, different hair color, text, or duplicate objects.
Generate a Neutral Reference First
I do not begin with an action scene. Dynamic poses introduce too many variables.
My first approved reference is usually:
- plain background;
- neutral lighting;
- front or three-quarter view;
- relaxed posture;
- visible hands;
- complete outfit.
This image becomes the visual baseline. I check whether every important feature is clear. If the satchel strap is hidden or the hairstyle is difficult to understand, I correct the design before creating additional images.
An unclear reference produces unclear future results.
Expand Into a Controlled Reference Set
After approving the neutral design, I use an AI anime image generator to build a small reference set.
I normally create:
- a front-facing portrait;
- a three-quarter portrait;
- a side profile;
- a full-body front view;
- a walking or running pose;
- an expression sheet;
- one scene illustration.
I change only one major variable at a time. When creating the side view, I do not also change the outfit and lighting. When testing a new expression, I keep the camera and clothing stable.
This method makes failures easier to diagnose.
Diagnose Facial Drift
Facial inconsistency is one of the most common problems.
When the face changes, I strengthen descriptions related to structure:
- narrow or broad jaw;
- round or angular cheeks;
- eye spacing;
- eyebrow thickness;
- nose size;
- apparent age;
- face length.
Hair color alone is not enough to establish identity. Two characters can have identical hair and still look unrelated because the facial structure has changed.
I also compare the reference images at the same size. Small differences become more obvious when the images are aligned side by side.
Control Outfit Changes
AI models often make costumes more elaborate over time. A simple jacket may gain buckles, shoulder armor, jewelry, or extra layers.
I reduce this by defining:
- garment count;
- material;
- silhouette;
- closure type;
- accessory placement;
- maximum number of decorative elements.
Instead of “detailed leather outfit,” I might write “plain waist-length brown leather jacket with one front zipper and no visible decoration.”
If an object is important, I explain where it is attached. “Leather satchel worn across the body, strap running from right shoulder to left hip” is more reliable than simply writing “satchel.”
Maintain Color Consistency
Color names are interpreted loosely. “Forest green” can range from muted olive to saturated emerald.
I keep a small internal palette with color references or hexadecimal values. I do not always place those codes in the prompt, but the reference helps me compare outputs and correct them during editing.
For a character with several images, I normally limit the main palette to three or four colors:
| Role | Example |
| Primary color | Dark green |
| Secondary color | Warm brown |
| Neutral | Cream |
| Accent | Muted copper |
A controlled palette makes the character easier to recognize and reduces visual noise.
Store Prompts and Failed Versions
I save more than the approved images.
Each character folder includes:
- master description;
- fixed prompt block;
- successful variable prompts;
- rejected images;
- notes about recurring errors;
- aspect ratios;
- creation date;
- approved palette;
- file version numbers.
Failed images are useful. They show which words caused an unwanted style change or which poses created identity drift.
Without these records, I may repeat the same mistake weeks later.
Use Human Review as the Final Consistency Test
Technical similarity is not the only goal. The character also needs emotional consistency.
I ask whether the expression fits the established personality. Does a reserved character suddenly appear theatrical? Does a practical character pose like a fashion model in every image? Does an action scene still reflect the character’s role?
These questions cannot be solved through prompt structure alone.
AI can generate the visual variations, but I still need to decide which versions belong to the same character. In my experience, consistency comes from controlled variables, clear references, and careful selection—not from one unusually long prompt.