Clipping path is one of the best image editing tools for e-commerce businesses. It is used to reshape and touch up your pictures to make them much more presentable and easier to sell to your clients.
Ask yourself the question, how often have you searched for a product on Amazon or another e-commerce website? You’ve most likely seen 10 of the same products and ten different presentations. Of course, you are going to go with the best-looking one, even if it goes for a little steeper price than the others.
Sorry to break it to you, but you have essentially been paying a little bit more for the exact same thing! “Why?” you might ask yourself. Because it looks professional and it immediately grabs your attention!
Ecommerce businesses have always looked for the best way to sell their goods, from a 10 cent packet of gum to a car.
The product itself is not important; it’s how you plan on selling it that counts! High-quality images and a matching, detailed description are key to winning over customers online.
What Is a Clipping Path Anyway?
Clipping path is removing a piece of your image from its existing background, so it can be touched up and added to another background to enhance certain features.
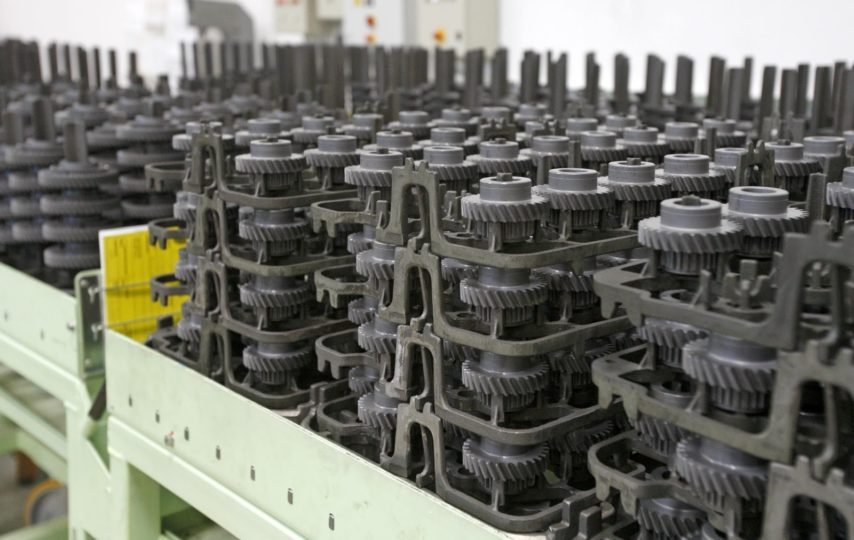
Say you have to take a picture of fifty auto parts, but don’t want to take each one separately. You’re going to take a picture of all the parts, and then remove the unwanted parts in post-production. It’s that simple!
When you remove something from its background, you want to put the focus on it, so a plain, white background and a simple shadow effect will work best.
Go on amazon and search for anything – most products will be in focus with a plain, single-color background.
Clipping Path Benefits for Auto-Parts and Machinery Images?
Say you want to sell a single cog from a machine with a thousand of them.
How will you bring the focus to that exact one? By clipping it from the background, of course! It is one of the clipping parts benefits. It most likely has some markings on it, so don’t forget to take them down on paper for later!
After you’ve removed the object from its background, just slapping it on to a white background is not enough. You need to reshape the image and edit it, so the object pops.
Don’t be afraid to play around in your image editing software and see what works best for you. But if you’re working with numerous parts, don’t forget to keep it uniform!
Having a million different parts with a million different presentations makes your product pages look sloppy.
Effects to Keep in Mind When Editing Your Clipped Picture
The Drop shadow effect is one of the best effects that can be used on your clipped image. It makes the object in question look far more natural. Further editing will make it look like it hasn’t even been removed from its original background at all.
Shadows are an important part of objects in space we often overlook, and without them, pictures would look plain odd. It makes the product look softer and more real.
Another great effect you can play with is saturation and contrast. Saturation is how dense the colors are in your picture or layer in question. Contrast is often tied to lightness and the contrast between the object and its background.
Playing around with the saturation and contrast can bring your layer to focus, thus improving the feel of your picture.
The Mirroring effect is great ways to make your picture or layer feel more natural, and generally more professional. The process that it takes to make a perfect product picture is very expensive and tough and will take much more time.
Editing your picture in post-production is an amazing way to cut down on time spent and money invested for the same or even better result!
Focus. Pictures that are out of focus are just plain amateur, and make you look unprofessional. But playing around with focus in the editing process of your picture is a whole different ordeal!
Say you have a piece of machinery you want to sell, for demonstrative purposes, let’s say it’s a tractor.
Now you’ve removed your tractor from its roadside background, you’ve set the colors to near perfection, played around with shadows, mirrors, you’ve done everything right!
But the picture still looks wonky and sloppy. How do you bring it to absolute perfection? Focus! Say you want to emphasize the most important part of the machine.
Either selection focus or circular focus works fine, but don’t forget to try different things and see what works best for each picture.

In conclusion, you have to keep in mind what you’re trying to achieve and always remember to try different things in your picture. What makes one image perfect can ruin another, so being versatile is the key to success. Also never cheap out when hiring professionals to do the job – it’s not an expense, it’s an investment. If you are paying a one-time fee for something that will earn you money in the long run, you should invest in the best you can afford at the time.
When hiring photographers or editors, always ask to see what their work experience is and if they have any credentials for the job they are applying for. Amateurs can sometimes bring nearly as good of a product as a Back office Pro professional for a fraction of the price, so use your head when judging their work!